| .. | ||
| keymaps/default | ||
| rev2_003 | ||
| config.h | ||
| info.json | ||
| readme.md | ||
| rules.mk | ||
Ploopy Nano 2 Trackball
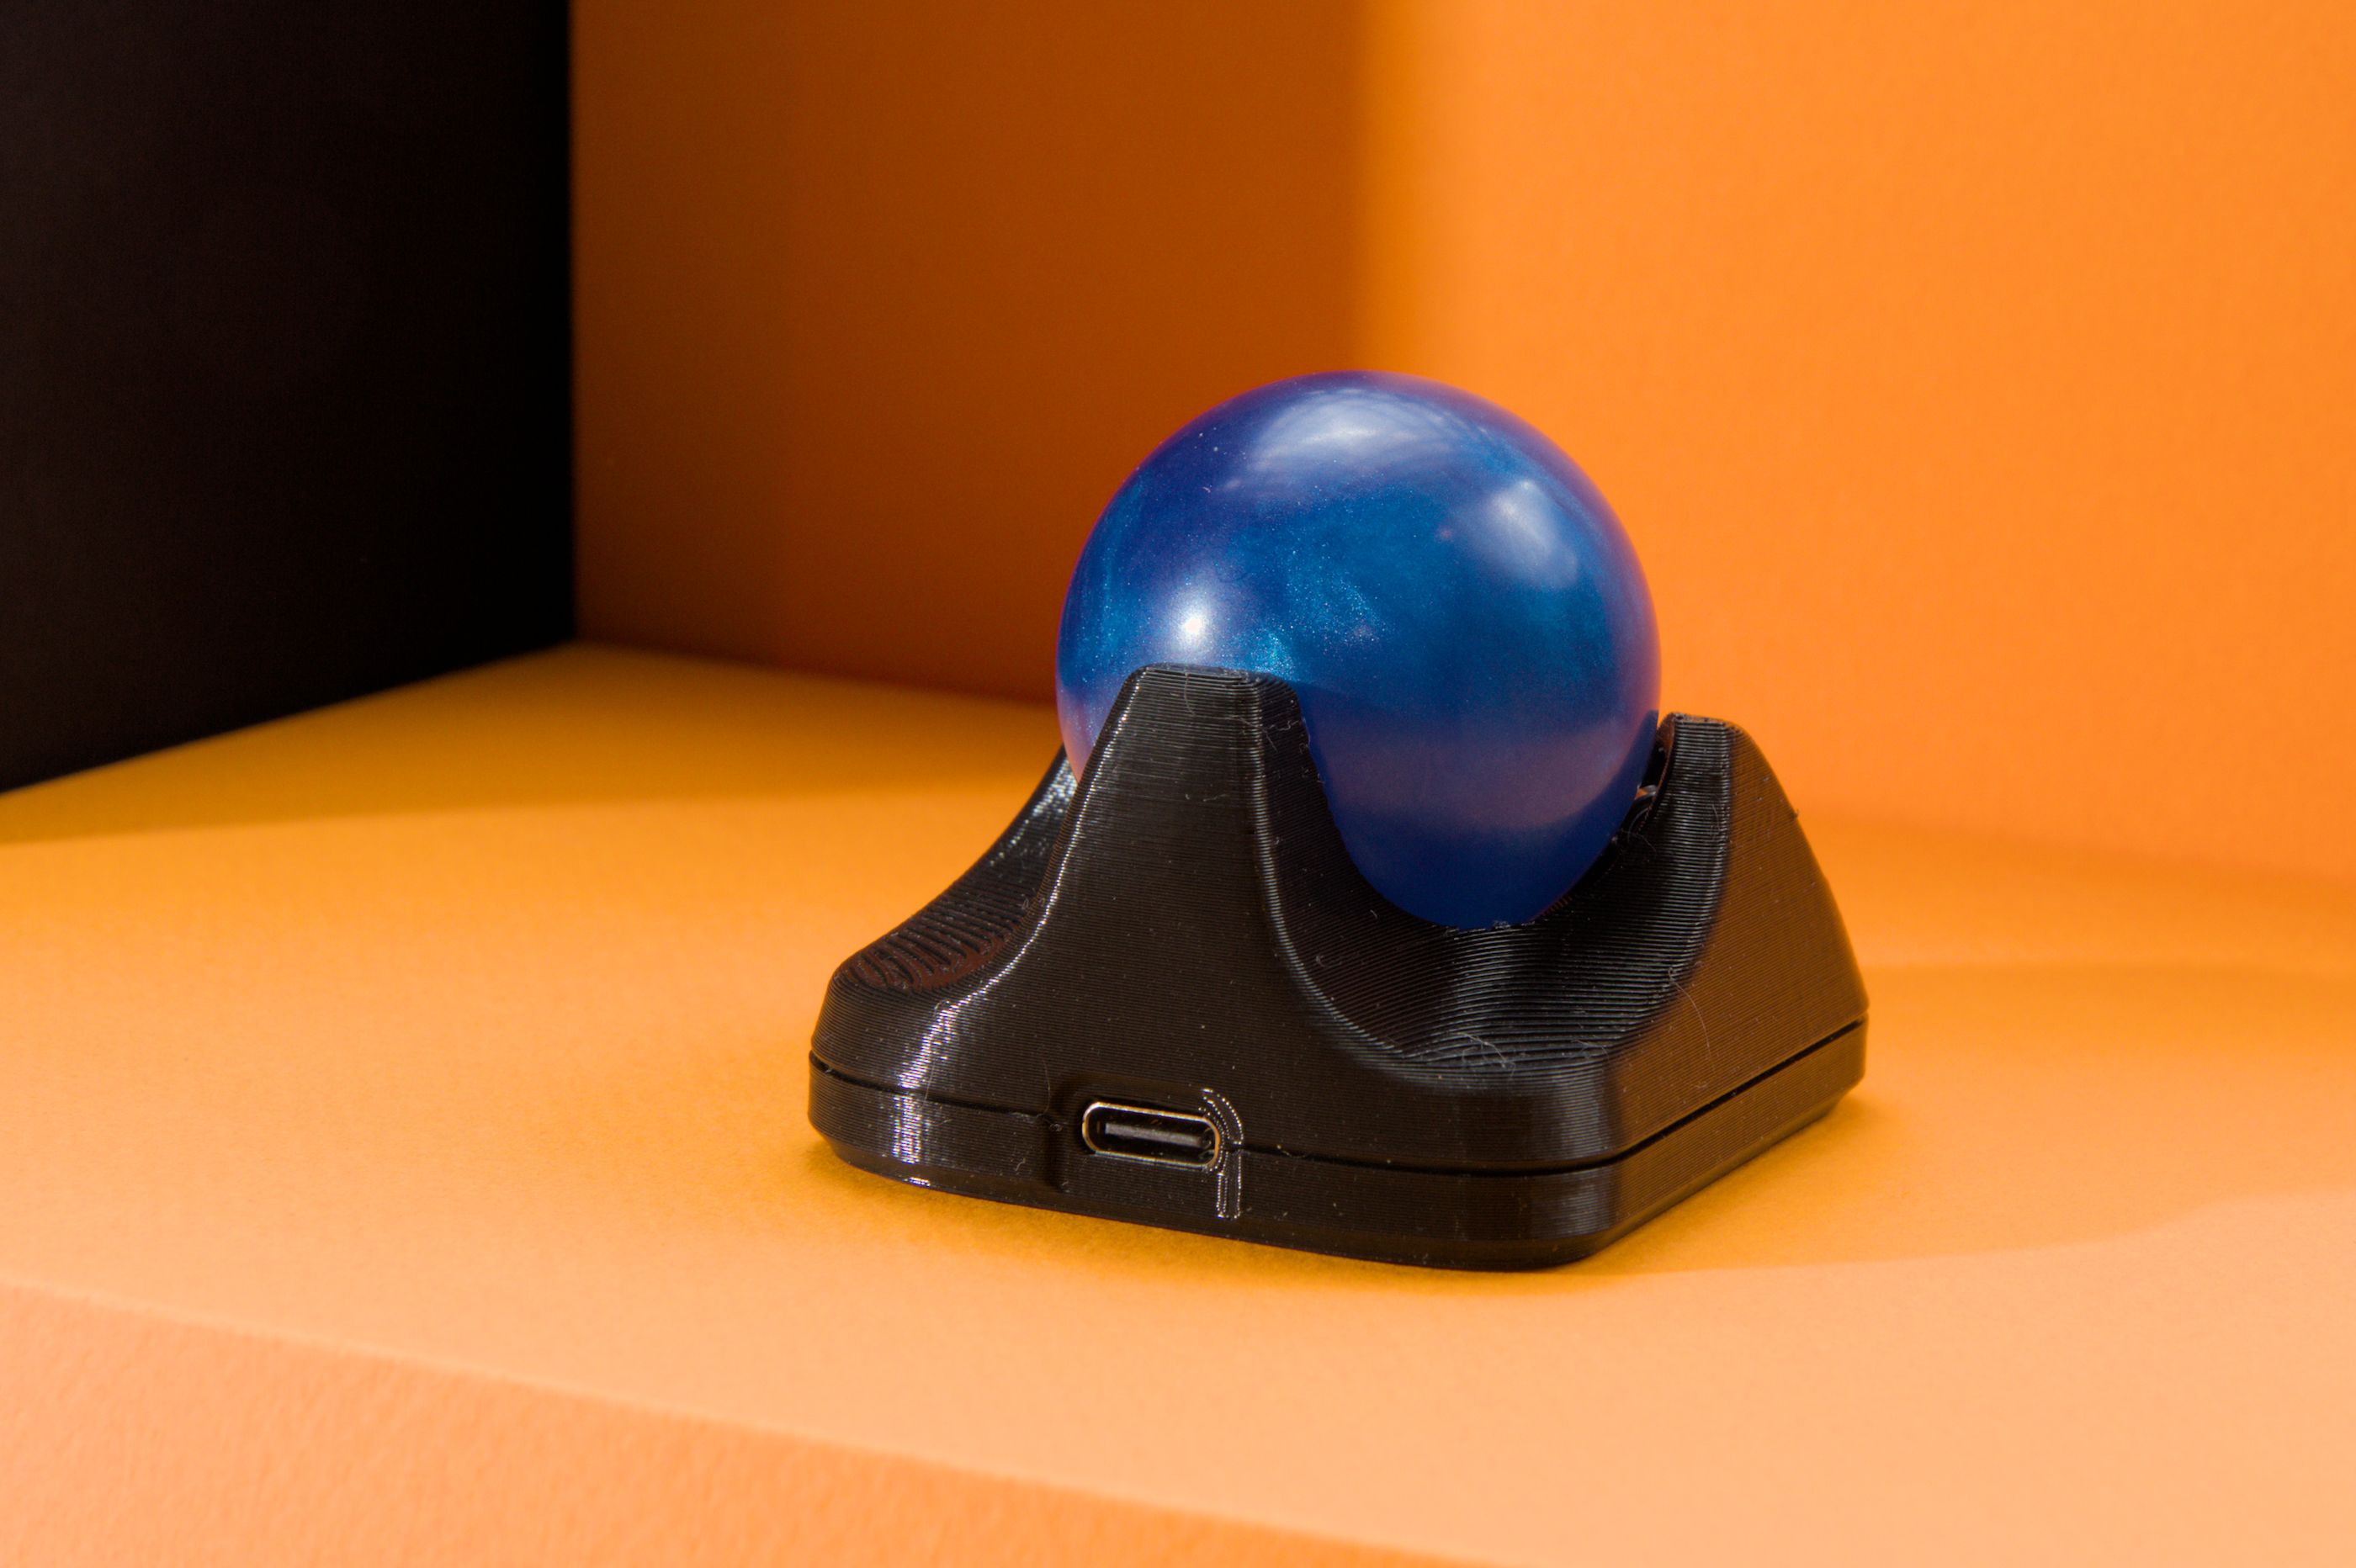
It's a DIY, QMK Powered Trackball...Nano!
- Maintainer: PloopyCo
- Key contributors: Drashna Jael're, Germ
- Hardware Supported: RP2040
- Hardware Availability: Store, GitHub
Make example for this keyboard (after setting up your build environment):
make ploopyco/nano_2/rev2_003:default
Flashing example for this keyboard:
make ploopyco/nano_2/rev2_003:default:flash
Building Firmware
See the build environment setup and the make instructions for more information. Brand new to QMK? Start with our Complete Newbs Guide.
Triggering the Bootloader
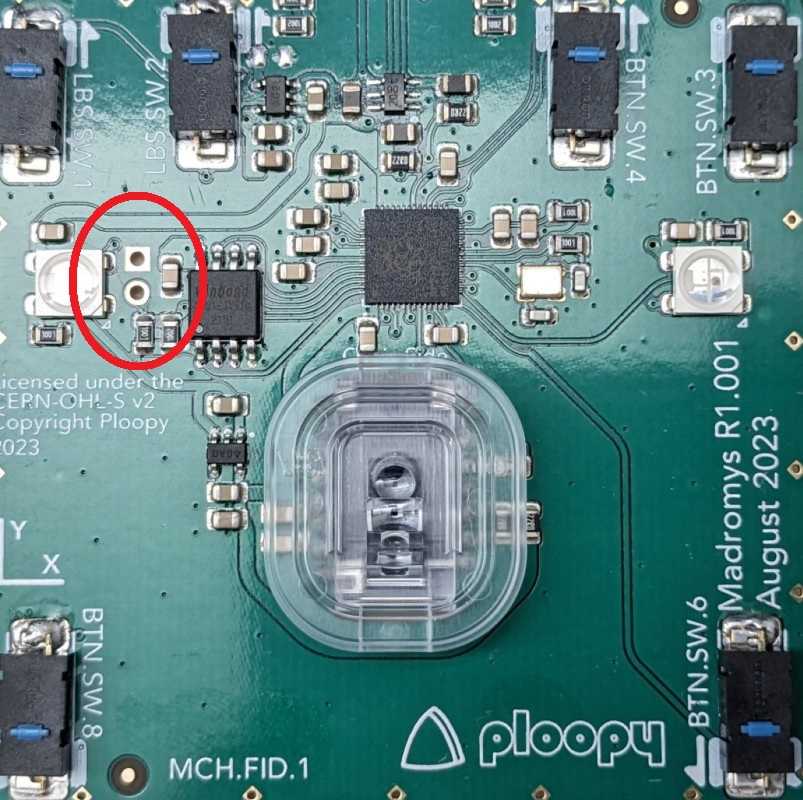
Do you see those two golden holes in the board? Those are called vias. They act exactly like a switch does. Right now, that switch is OFF. However, if you take a paperclip or a pair of metal tweezers and touch those two vias, the two vias will form an electrical connection. Effectively, that switch turns ON.
Go ahead and connect the two vias, and then (while the vias are connected) plug in the Nano 2 board into your computer.
The computer should recognise that a mass storage device was just plugged in. Once this is done, you should be able to drag and drop files onto the Nano 2 board, as if the board was a USB drive. Feel free to remove the tweezers or paperclip at this point.
If you want to upload a new firmware file (a ".uf2" file, like "nano-2-awesome-version.uf2" or something), just drag it into the folder, and it'll automatically install on the Nano 2 board and restart itself, in normal operating mode. You're done!
TIP: If your firmware is in some kind of strange state and uploading new firmware isn't fixing it, try uploading a flash nuke to the Nano 2 board before flashing the new firmware. It wipes the memory of the Nano 2 board completely clean, which can help clear a few types of errors.
Customizing your Ploopy Nano 2
You can find customziation options here.